
Speech wave visualization in SwiftUI
For a personal project I needed a way to visually represent some speech audio in an iOS app. I decided to go with the old Siri wave animation, something like this.
Fresh from the 100 days of SwftUI animation lessons, I decided to implement it by myself in SwiftUI.
Single wave
The first step is to create a single wave, as a Shape. I took the code from an existing repository linked at the end of the article.
struct Wave: Shape {
/// The frequency of the sinus wave. The higher the value, the more sinus wave peaks you will have.
/// Default: 1.5
var frequency: CGFloat = 1.5
/// The lines are joined stepwise, the more dense you draw, the more CPU power is used.
/// Default: 1
var density: CGFloat = 1.0
/// The phase shift that will be applied
var phase: CGFloat
/// The normed ampllitude of this wave, between 0 and 1.
var normedAmplitude: CGFloat
func path(in rect: CGRect) -> Path {
var path = Path()
let maxAmplitude = rect.height / 2.0
let mid = rect.width / 2
for x in Swift.stride(from:0, to: rect.width + self.density, by: self.density) {
// Parabolic scaling
let scaling = -pow(1 / mid * (x - mid), 2) + 1
let y = scaling * maxAmplitude * normedAmplitude * sin(CGFloat(2 * Double.pi) * self.frequency * (x / rect.width) + self.phase) + rect.height / 2
if x == 0 {
path.move(to: CGPoint(x:x, y:y))
} else {
path.addLine(to: CGPoint(x:x, y:y))
}
}
return path
}
}
struct ContentView: View {
var body: some View {
VStack {
Spacer()
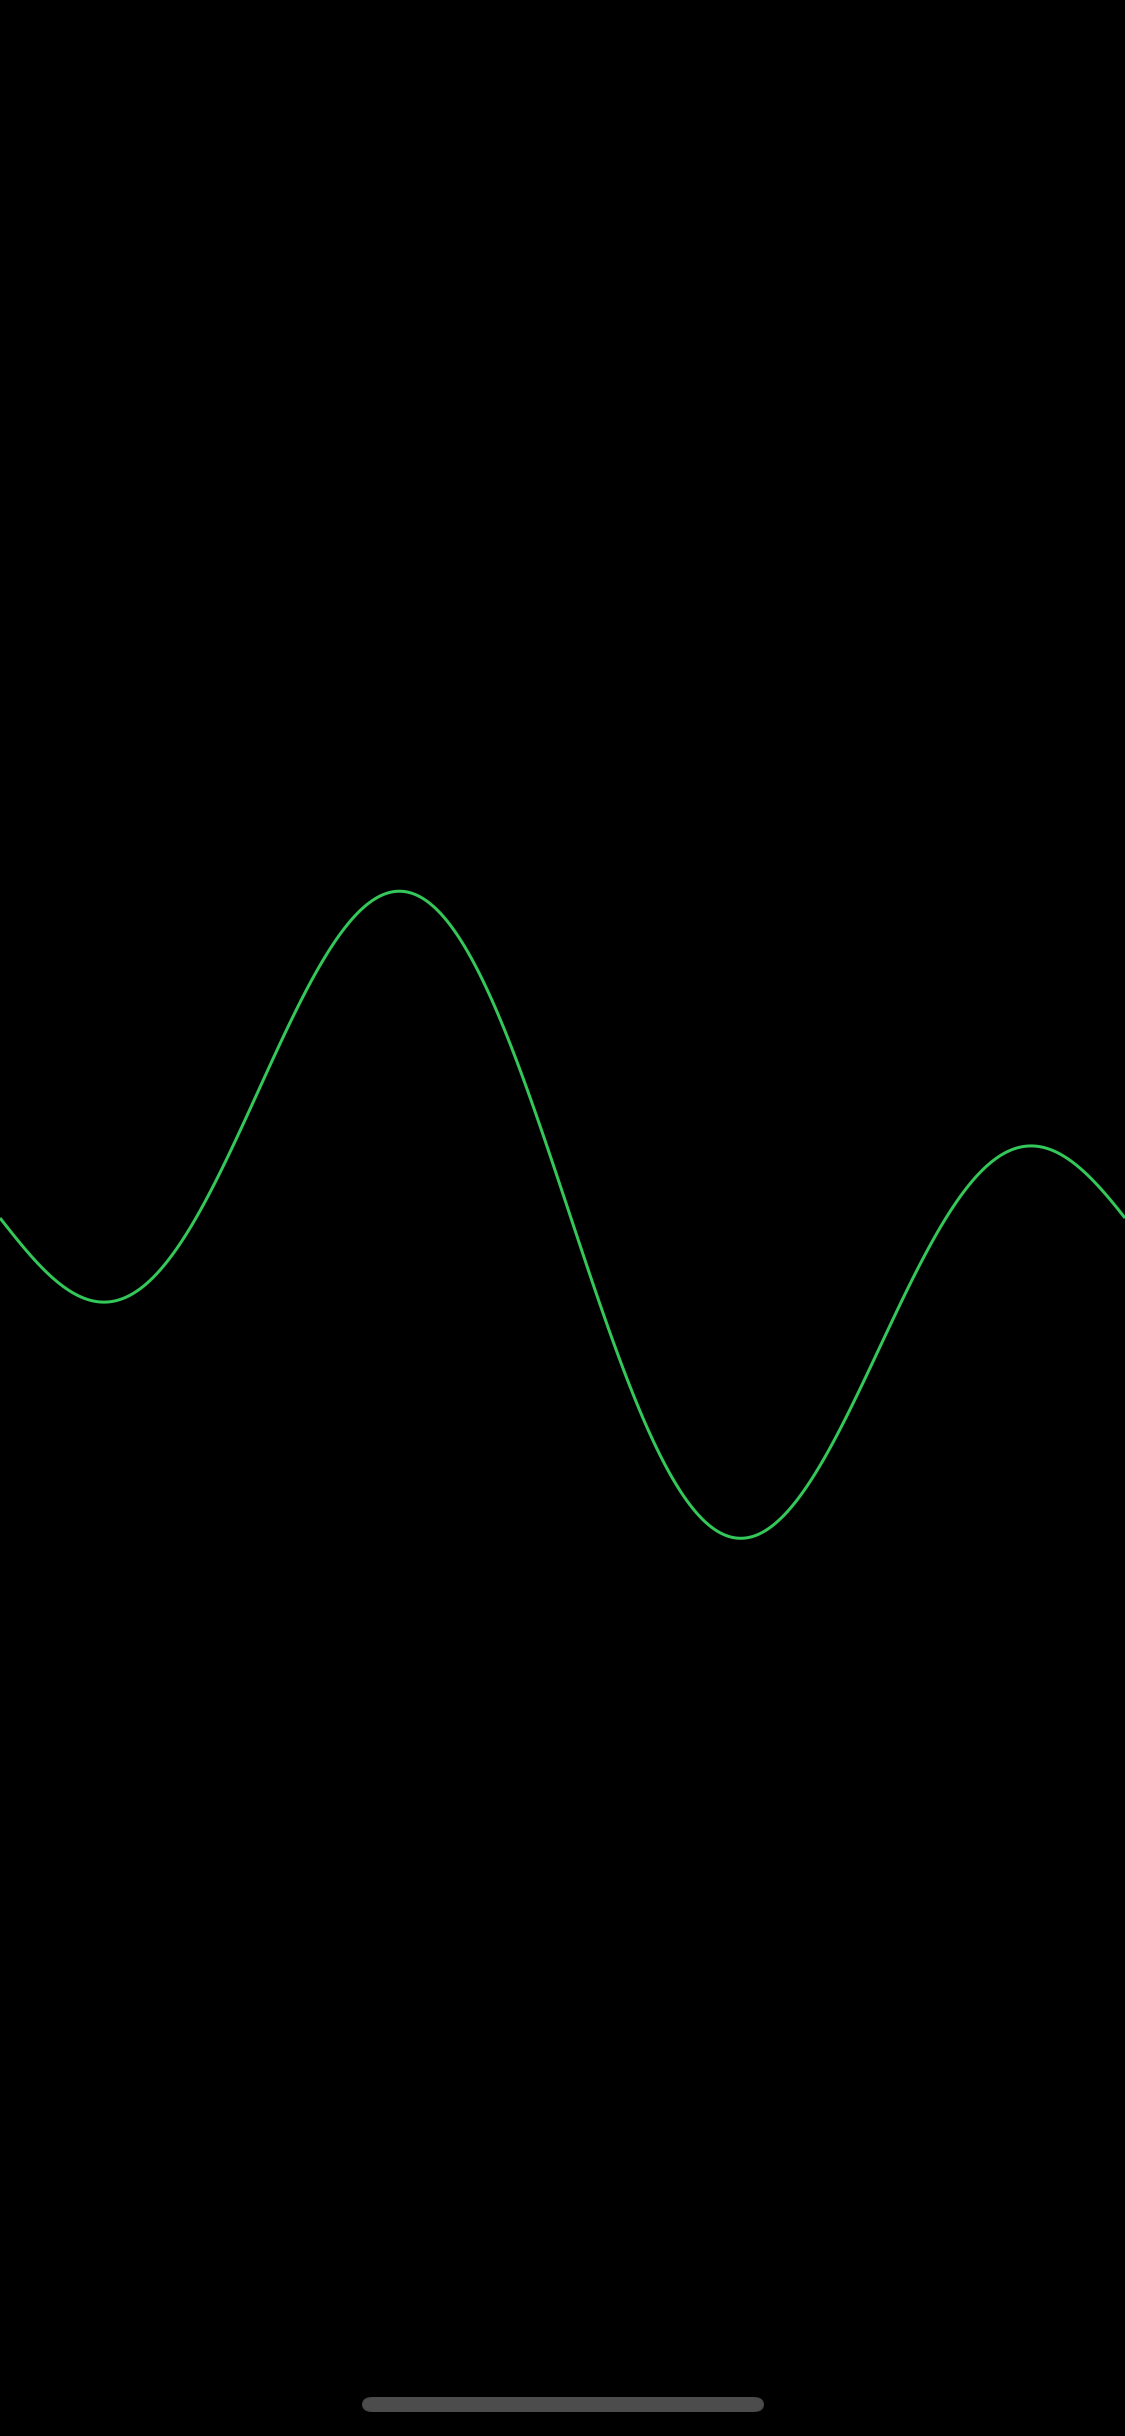
Wave(phase: 1.5, normedAmplitude: 0.8)
.stroke(Color.green)
.frame(height: 300)
Spacer()
}
.background(Color.black)
.edgesIgnoringSafeArea(.all)
}
}
What is happening in the path method is pure math, partially explained here. It is important to note the two main properties we are going to change in our animation. The normedAmplitude, which is the amplitude of the audio, normalized between 0 and 1, and the phase, which will shift the wave along the y axis.
The result of the code above is:
Multi wave
Now we want to combine some single waves into a snapshot of the full animation.
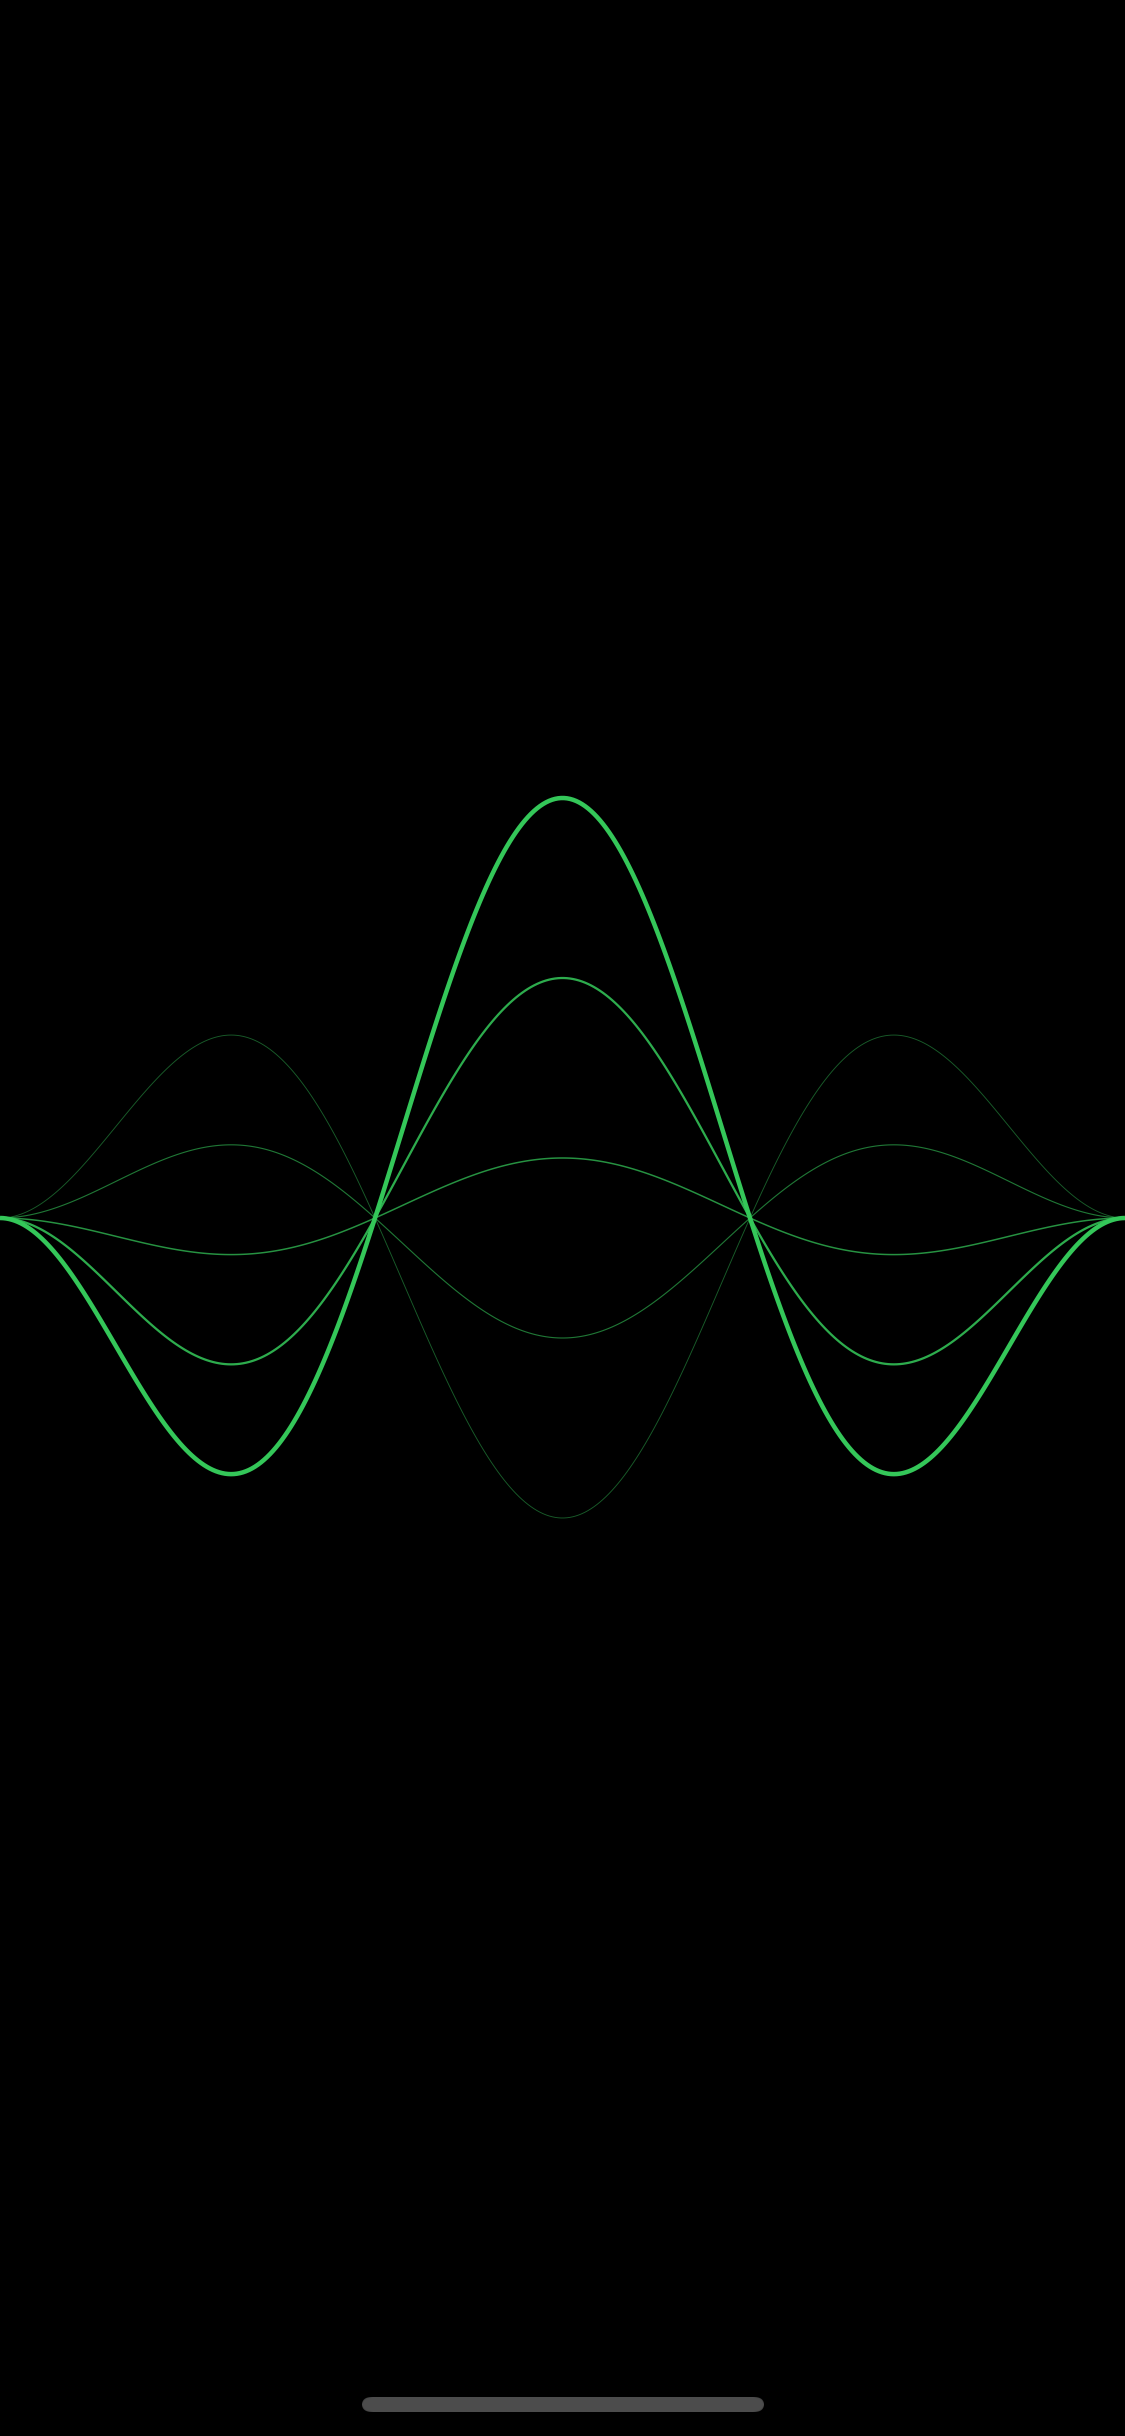
struct MultiWave: View {
    var amplitude: CGFloat = 1.0
    var color: Color = Color.green
    var phase: CGFloat = 0.0

    var body: some View {
        ZStack {
            ForEach((0...4), id: \.self) { count in
                singleWave(count: count)
            }
        }
    }

    func singleWave(count: Int) -> some View {
        let progress = 1.0 - CGFloat(count) / CGFloat(5)
        let normedAmplitude = (1.5 * progress - 0.8) * self.amplitude
        let alphaComponent = min(1.0, (progress/3.0*2.0) + (1.0/3.0))

        return Wave(phase: phase, normedAmplitude: normedAmplitude)
            .stroke(color.opacity(Double(alphaComponent)), lineWidth: 1.5 / CGFloat(count + 1))
    }

}

struct ContentView: View {
    var body: some View {
        VStack {
            Spacer()
            MultiWave(amplitude: 0.8, color: .green, phase: 0.0)
                .frame(height: 500)
            Spacer()
        }
        .background(Color.black)
        .edgesIgnoringSafeArea(.all)
    }
}
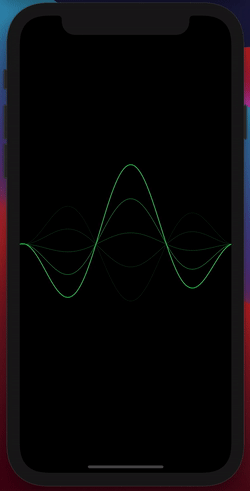
The code above creates 5 waves, the amplitude of each of them descreasing while also the line width decreases.
It’s time to animate
We start adding the animation in the content view:
struct ContentView: View {
    @State private var amplitude: CGFloat = 0.8
    @State private var phase: CGFloat = 0.0

    var body: some View {
        VStack {
            Spacer()
            MultiWave(amplitude: amplitude, color: .green, phase: phase)
                .frame(height: 500)
                .onAppear {
                    withAnimation(Animation.linear(duration: 0.1)
                                    .repeatForever(autoreverses: false)
                    ) {
                        self.amplitude = 0.5
                        self.phase -= 1.5
                    }
                }
            Spacer()
        }
        .background(Color.black)
        .edgesIgnoringSafeArea(.all)
    }
}
Bacause Wave is a shape, we need to us an AnimatablePair to get the amplitude and phase to animate:
public var animatableData: AnimatablePair<CGFloat, CGFloat> {
    get {
        AnimatablePair(normedAmplitude, phase)
    }

    set {
        self.normedAmplitude = newValue.first
        self.phase = newValue.second
    }
}
Great. It works. Now we want to show it in a prettier way. We need to trigger an animation when a previous animation is completed. We will use some code from Antoine van der Lee and use it in our content view.
struct ContentView: View {
    @State private var amplitude: CGFloat = 0.8
    @State private var phase: CGFloat = 0.0
    @State private var change: CGFloat = 0.1

    var body: some View {
        VStack {
            Spacer()
            MultiWave(amplitude: amplitude, color: .green, phase: phase)
                .frame(height: 500)
                .onAppear {
                    withAnimation(Animation.linear(duration: 0.1)
                                    .repeatForever(autoreverses: false)
                    ) {
                        self.amplitude = _nextAmplitude()
                        self.phase -= 1.5
                    }
                }
                .onAnimationCompleted(for: amplitude) {
                    withAnimation(.linear(duration: 0.1)){
                        self.amplitude = _nextAmplitude()
                        self.phase -= 1.5
                    }
                }
            Spacer()
        }
        .background(Color.black)
        .edgesIgnoringSafeArea(.all)
    }

    private func _nextAmplitude() -> CGFloat {
        // If the amplitude is too low or too high, cap it and go in the other direction.
        if self.amplitude <= 0.01 {
            self.change = 0.1
            return 0.02
        } else if self.amplitude > 0.9 {
            self.change = -0.1
            return 0.9
        }

        // Simply set the amplitude to whatever you need and the view will update itself.
        let newAmplitude = self.amplitude + (self.change * CGFloat.random(in: 0.3...0.8))
        return max(0.01, newAmplitude)
    }
}
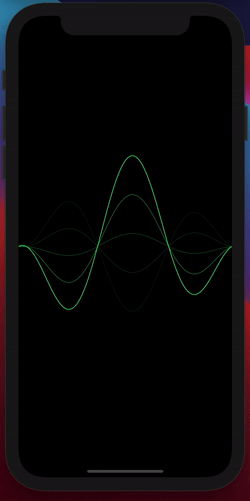
We animate the wave to a new “initial” amplitude and phase the wave a bit. Then, when the animation is completed, we get a new, random, amplitude and animate again.
The math is taken from a library that does the same thing with UIKit.
The code is on a repository in GitHub.
Leave a comment