Update Google Sheets from Firestore using Cloud Functions
Updated on Dec 8, 2020 It is not safe to deploy a service account json file with your Cloud Functions** follow-up article**
If you do not measure the data that is produced by your app, you cannot know how to improve it the right way. The consumer of such data has usually a preferred tool to analyze it. It could be a set of Python scripts, it could be an external tool like Tableau, or it could be a simple spreadsheet software, like Google Sheets.
The data analyst is going to come to you and ask you to export some data from your app to a spreadsheet on Google Drive. You can use third-party services, like Zapier. But you are a passionate programmer, and you want to save your company some money. So you decide to export the data yourself, in an automated way.
In this tutorial, you will learn how to automatically append a new row in a Google Sheets file whenever a new document is created in Firebase Firestore.
Setup the project
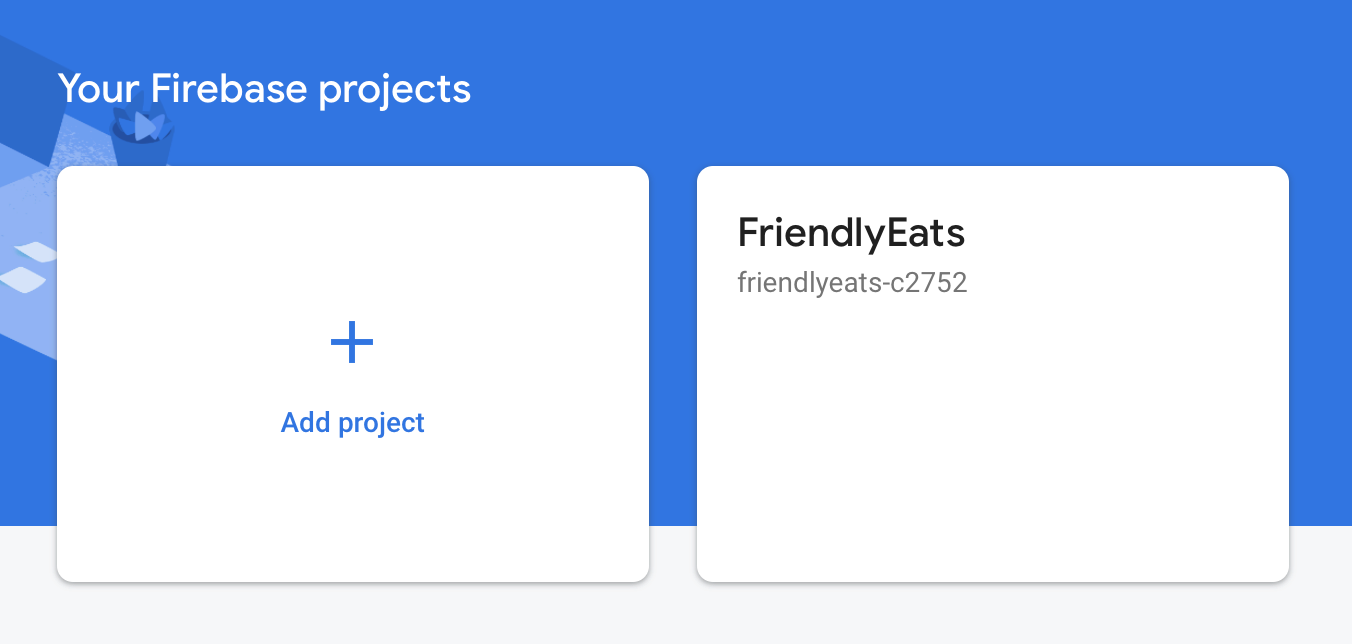
If you do not already have a Firebase project, create a new one, go to the Firebase console and click Add project.
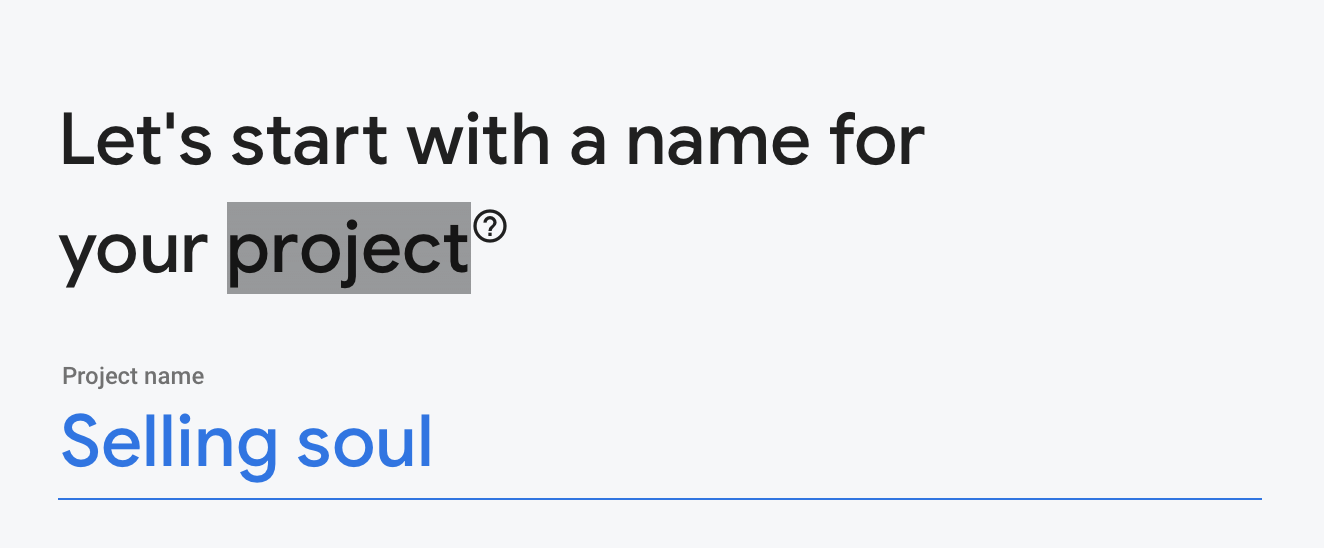
Give a name to your project, I chose “Selling soul”, and click Continue.
Whether to enable or disable Google Analytics is up to you, click Create project, and wait for the creation process to finish. Then select Cloud Firestore and click Create database.

Select Start in production mode and click Next, select your preferred location, I selected eur3, and click Enable.
Enable Google Sheets API
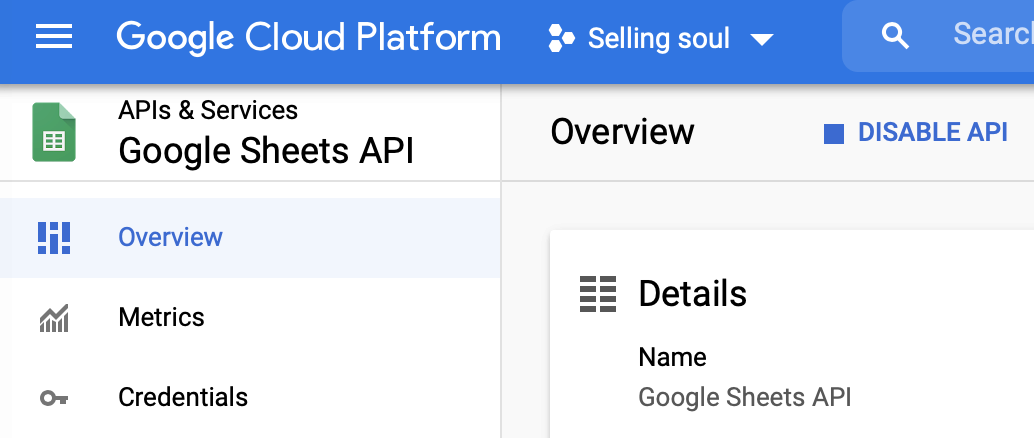
Now that you are ready with your Firebase project, go to the Google Cloud Consoleand make sure to select the correct project.

Search in the search bar for “google sheets api” and click Enable. Once enabled click Credentials
Click + CREATE CREDENTIALS, select Service account, and, on the new page, give a name to the service account, for instance Google sheets updater, add a description if you like, and click CREATE. You can leave the optional permissions empty and click CONTINUE. You can leave the optional grant user access empty as well, and click DONE.
Now the new service account will appear in the list of service accounts.
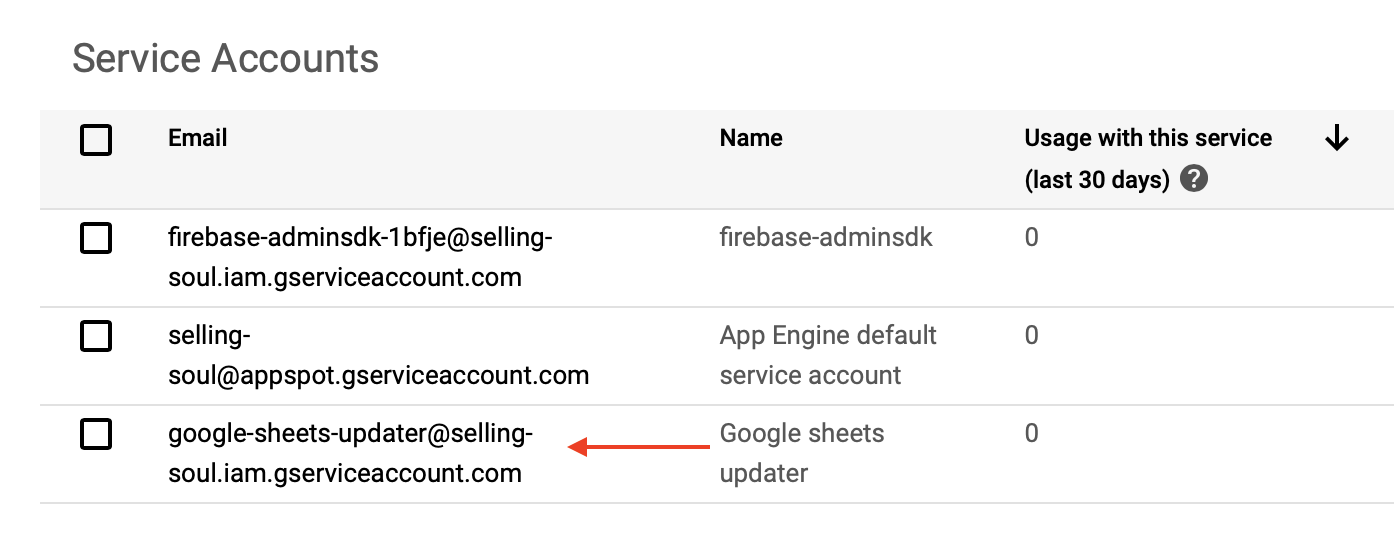
Click it and write down its email address, in my case [email protected], then click ADD KEY, selecting Create new key. Choose JSON. After clicking CREATE, a json file containing the key that allows you to use this service account.
Do not keep this file in version control, because it contains a private key. If you lose this file, you will need to create a new key.
Share the spreadsheet
If you do not have one already, create a new Google Sheets in Google Drive, and share it with the email address of the service account.
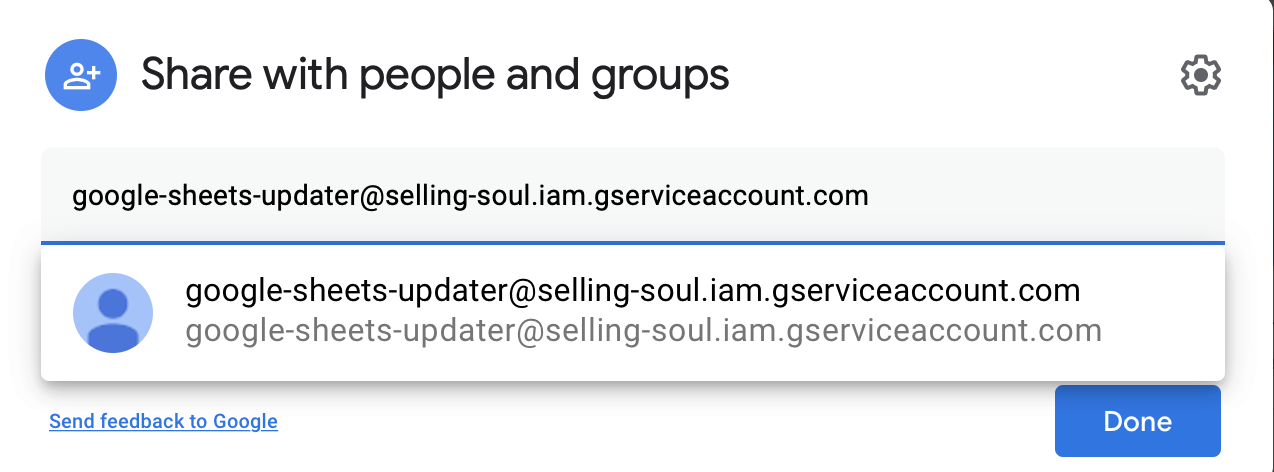
Write down the file id of the spreadsheet. You can get the id from the URL, for instance the spreadsheet at the URL https://docs.google.com/spreadsheets/d/1YpO8oe2I8cEImtKjnBscOLbiNnnTaDP1e82YAaymu20has id 1YpO8oe2I8cEImtKjnBscOLbiNnnTaDP1e82YAaymu20.
Create a cloud function
Follow the official get started guide to install firebase-tools, then log in and start using Cloud Functions.
firebase login
firebase init functions
Select Use an existing project and select your Firebase project. Select Typescript, answer n to _Do you want to use ESLint to catch probable bugs and enforce style?_and y to Do you want to install dependencies with npm now?.
The init process should have created a functions folder, move the service account JSON file in it, but, remember, do not version control it. I would add it to .gitignore. Rename the file to sheets_updater_service_account.json.
It is not safe to deploy a service account json file with your Cloud Functions** follow-up article**
In terminal move to the functions folder and install some needed packages.
cd functions
npm install firebase-functions googleapis
Open src/index.ts, it’s time to write code. Replace the content with
import * as functions from 'firebase-functions'
import { exportBids } from './exportBids'
const region = "europe-west3"

// Triggered when a group of bids is added to the bids collection.
// This will update a spreadsheet with history data in Google Drive.
exports.exportOrderData = functions.region(region).firestore
    .document('bids/{id}')
    .onCreate(async (snapshot, _) => {

        const id = snapshot.id

        const documentData = snapshot.data()
        const username = documentData.username
        const date = documentData.date.toDate().toLocaleString('en-US', { dateStyle: 'long', timeStyle: 'long' })
        const bids = documentData.bids // Array of bids

        await exportBids(id, username, date, bids)
});
and create a new file src/exportBids.ts with the following content, replacing the spreadsheet id with your own.
import * as functions from 'firebase-functions'

// Google Sheet
import { google } from 'googleapis'
const sheets = google.sheets('v4')

const serviceAccount = require('../sheets_updater_service_account.json')

const jwtClient = new google.auth.JWT({
    email: serviceAccount.client_email,
    key: serviceAccount.private_key,
    scopes: ['https://www.googleapis.com/auth/spreadsheets']
})

const jwtAuthPromise = jwtClient.authorize()

export async function exportBids(
    id: string,
    username: string,
    date: string,
    bids: Array<any>
) {

    console.info(`Exporting bids ${id}`)

    const finalData: Array<Array<string>> = []
    bids.forEach(function (bid) {
        finalData.push([id, date, username, bid.bidder, bid.offer])
    })

    await jwtAuthPromise
    await sheets.spreadsheets.values.append({
        auth: jwtClient,
        spreadsheetId: "1YpO8oe2I8cEImtKjnBscOLbiNnnTaDP1e82YAaymu20",
        range: `Sheet1!A1:E1`,
        valueInputOption: 'RAW',
        requestBody: { values: finalData, majorDimension: "ROWS" }
    }, {})

}
Build the functions and deploy them with
npm run build
firebase deploy --only functions
Test the result
Go to the web interface of Cloud Firestore for your project and add a new collectioncalled bids. You will need to add a document as well in the collection.
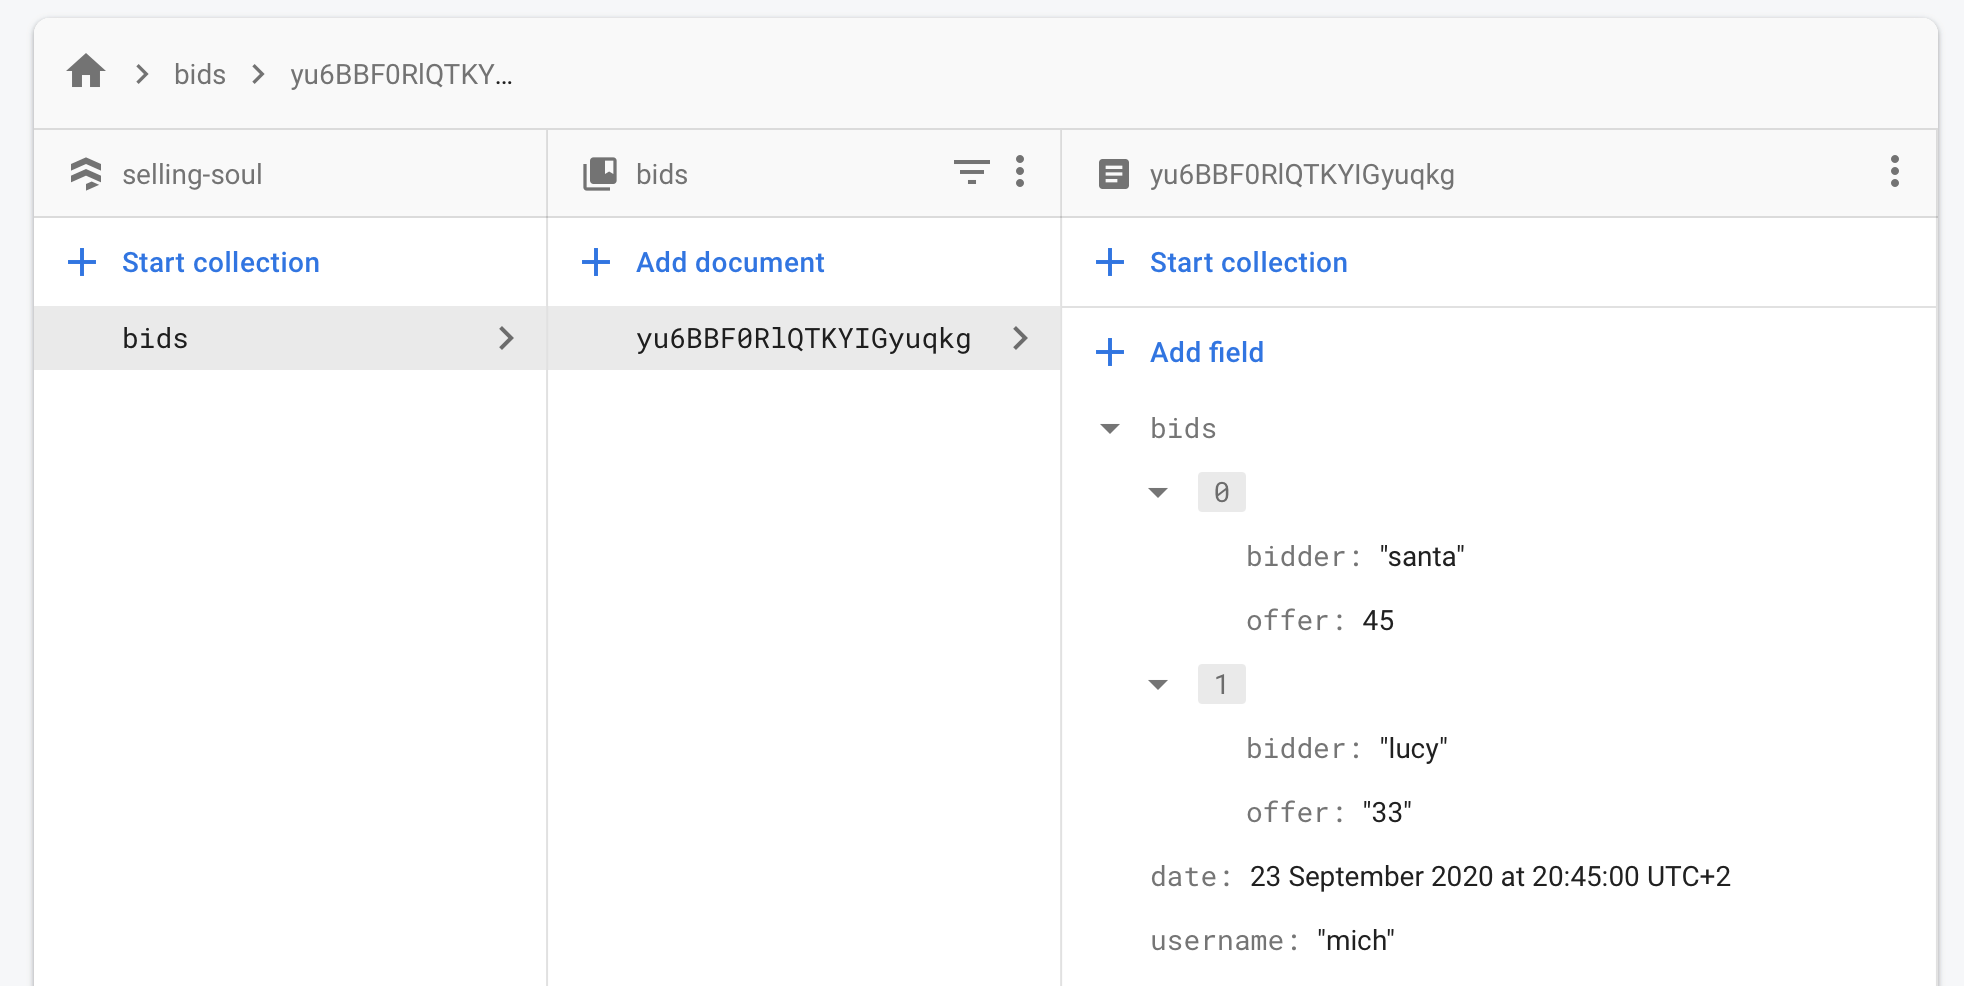
Check the spreadsheet, there should be some new rows, one for each element of the array bids.


Leave a comment